In Unit 3, I learnt to narrate a story through storyboarding and animation. At the beginning of the unit I was given a script. I went on to do a breakdown based on the script and drew some storyboard drafts to visualise the story. We learnt a lot of useful theory during the lectures of this unit such as different compositional techniques, different camera views, the 180 degree rule, and so on. These also helped us a lot in creating our storyboards.
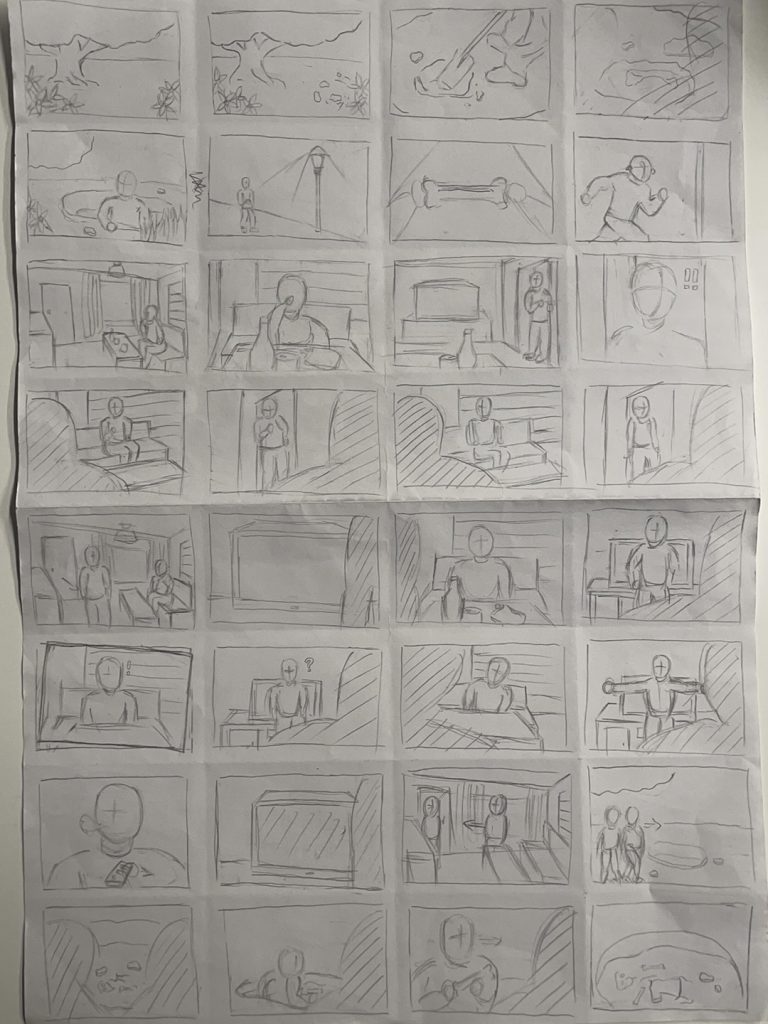
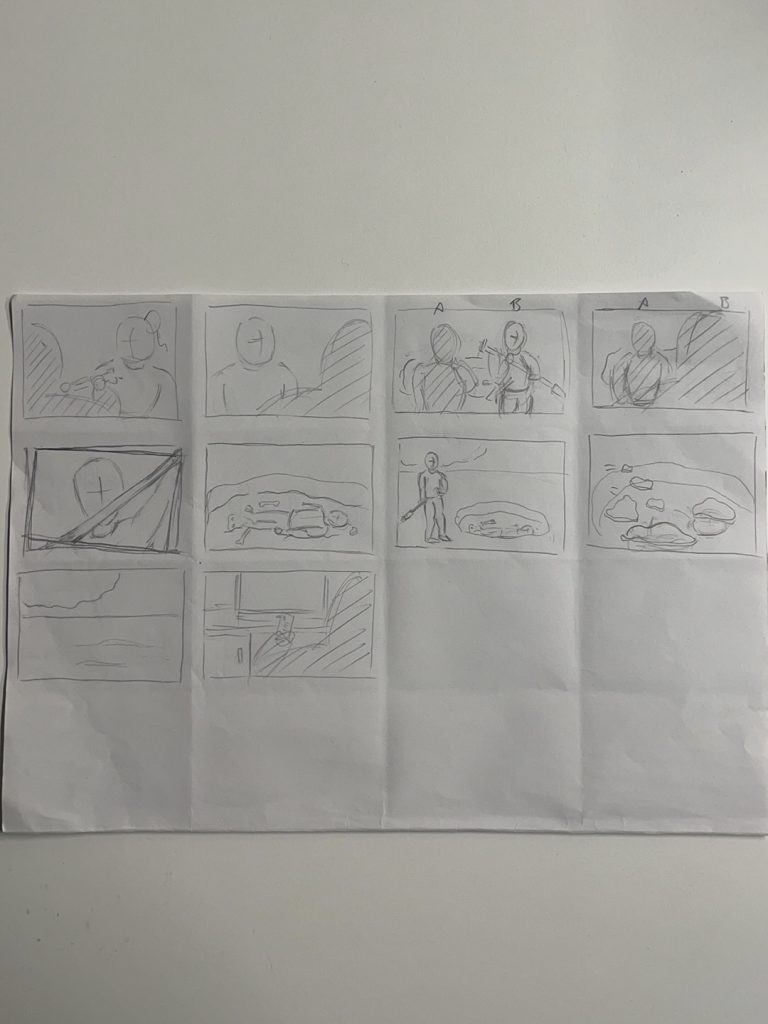
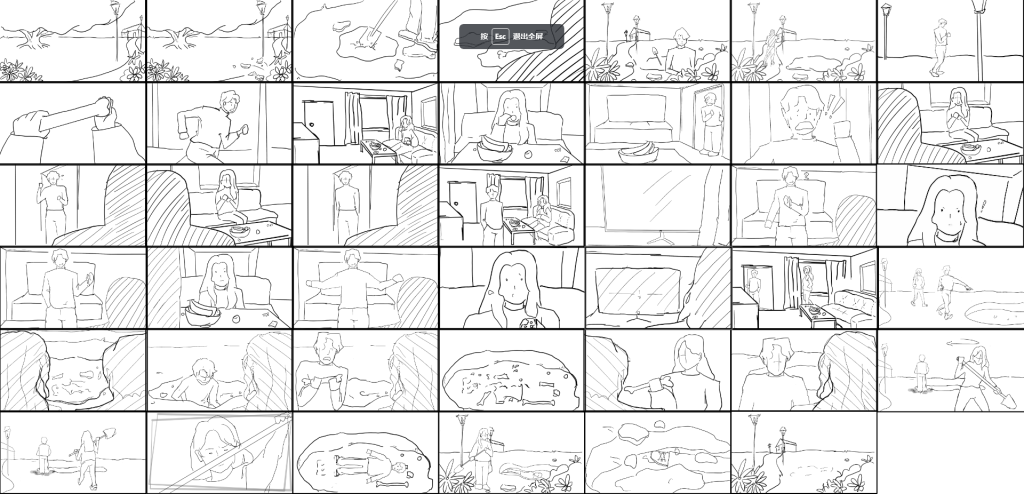
These are my hand-drawn storyboard drafts, and since I knew something about film production before, the overall style of the creation was closer to the film at first. The number of shots was not designed to be very large, as I felt that frequent cuts would make the audience feel a bit trivial visually. I tried to combine different shots and camera positions, such as wide shot, medium shot, close up, over-the-shoulder shot, POV, Dutch angle, long shot, etc., and I was ready to add some scenery shots to be interspersed in the plot, to make the film more rich in view and rhythm. But later I found that there was a difference between what I understood and what was actually required. This assignment is more in the form of anime. The focus is more on every action and expression of the characters, and every move they make should be drawn on the storyboard. But fortunately, after Paul checked it, he felt that the overall expression of the story was okay, only needing to add a few articulated frames in it. And he gave me some advice on composition and perspective. So that I can better improve my storyboard.
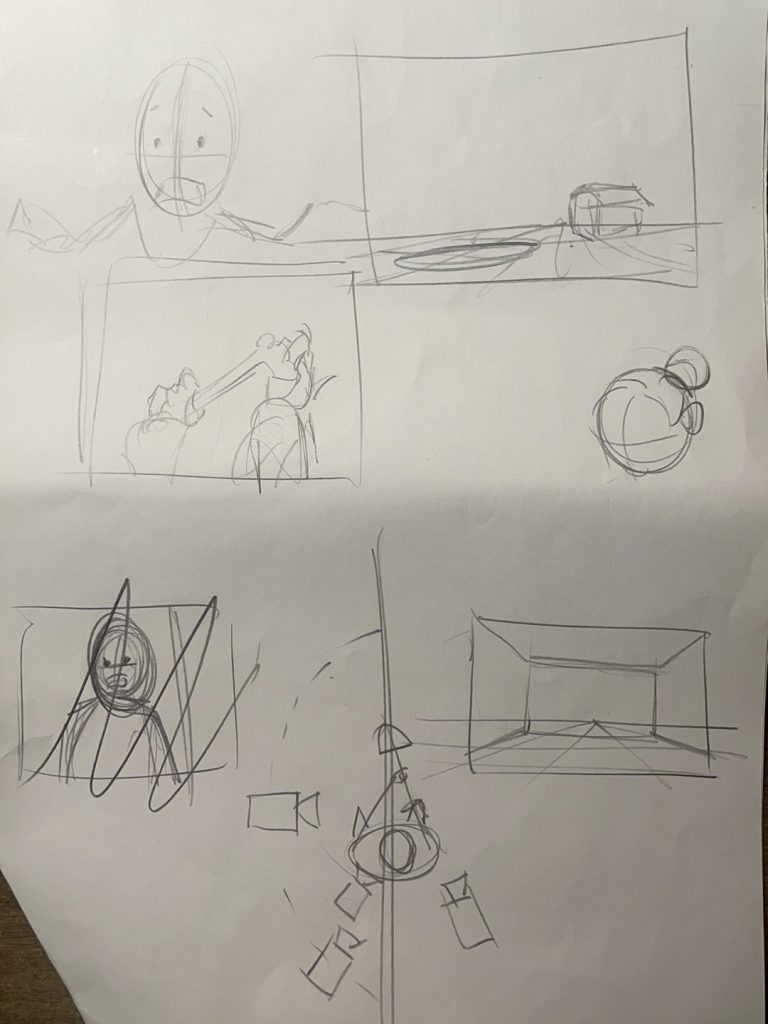
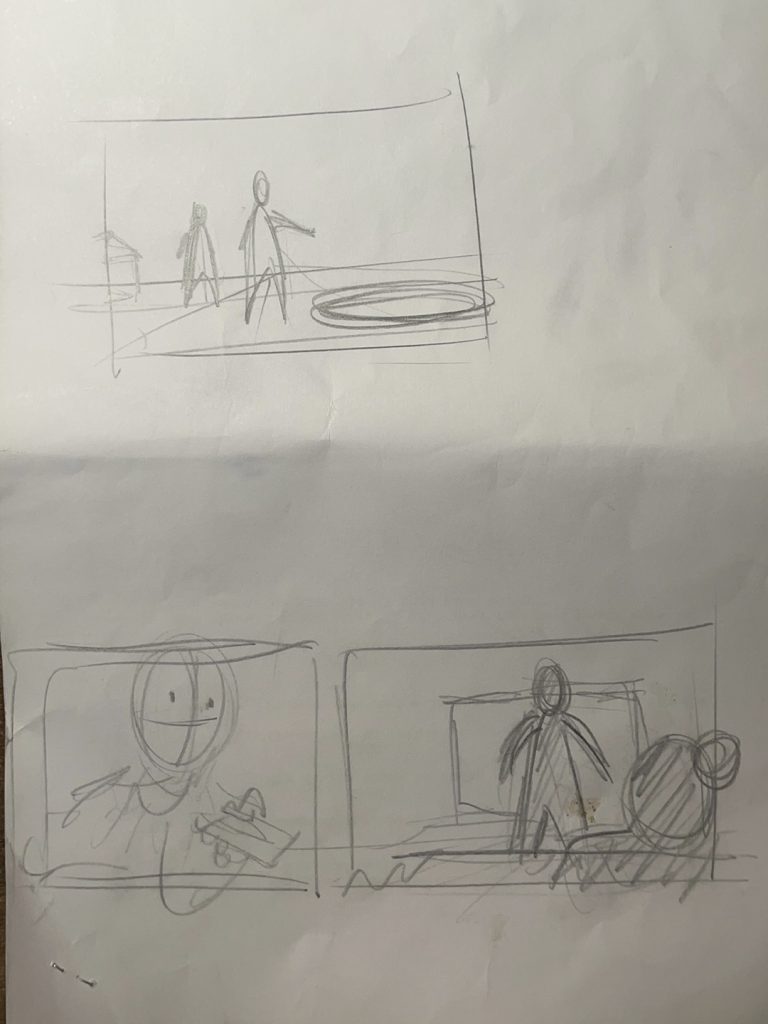
I then combined the original draft with the suggestions to create a big and clear digital storyboard version. But looking closely at the digital version, there are still some shortcomings, especially some perspective relationships, the drawing is not very accurate.
After completing the storyboard section, it’s time to start going to a short Pre-Vis. The scene I chose to do Pre-Vis for is Scene 1, the outdoor scene. The first step was to build a simple model of the scene, then I added a primary light source at the street lamp and put a moon in the sky in the corner of the scene as a fill light.
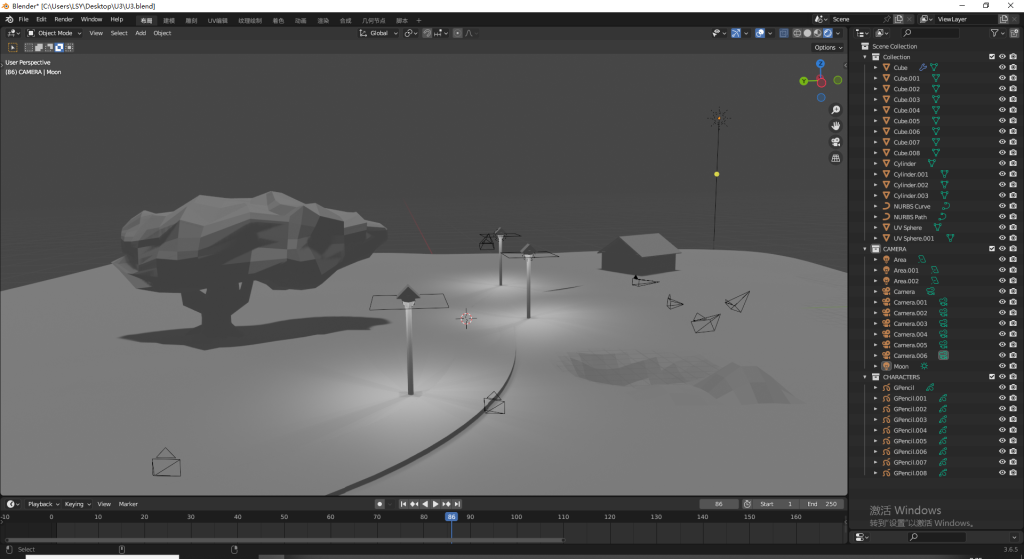
The next step is to determine the camera position and focal length, and to draw the character in the shot with a grease pencil. But this step was difficult for me because the grease pencil didn’t seem to listen to me very well and always landed in unexpected places! I know the odds are that this is because there is some error in space when mapping in 3D. After repeated help from Paul, the techs, and enthusiastic students, I can basically use the grease pencil properly, but still not at ease. So it took me a long time and the results weren’t very good.
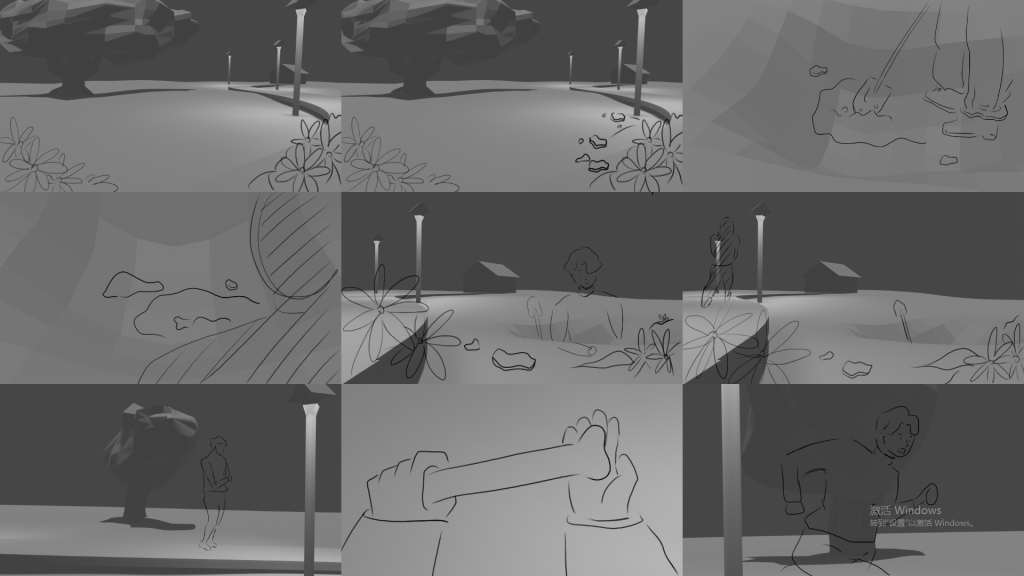
In the final step, the drawn storyboard and rendered model are put into editing software and cut into a stop-motion film. The finished film is as follows:
https://drive.google.com/file/d/1uhp04duZoYlwaP53df0ptgHUJR1Eq07S/view?usp=sharing
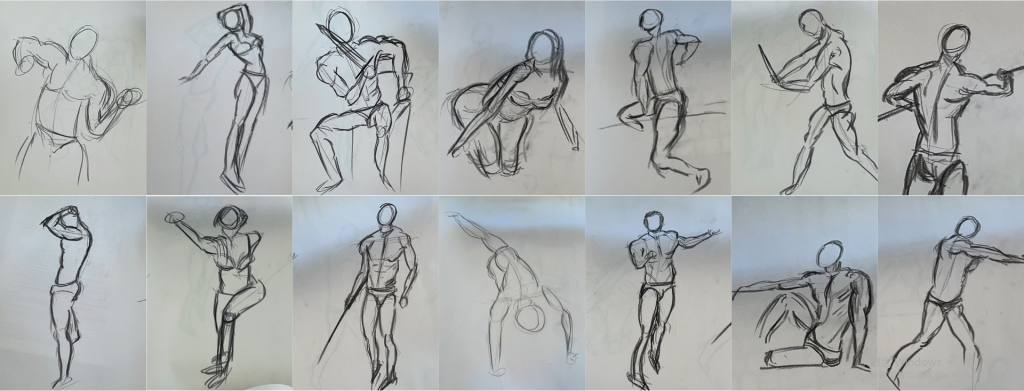
In addition to the projects above, in this unit we did some finger painting exercises. It’s some sketches of perspective scenes and human body. This exercise helped me to improve my shaping and pen control skills.
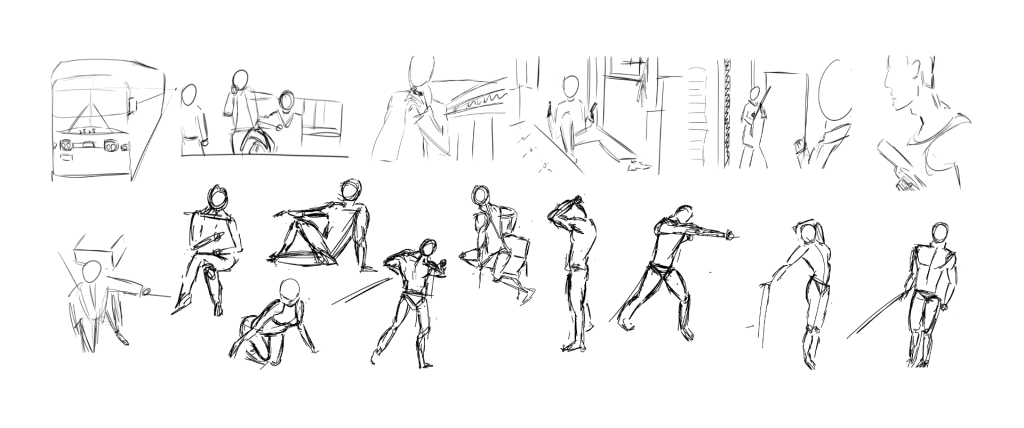
Besides to the digital version, we also tried drawing with charcoal on a drawing board. I preferred the latter. Charcoal allows me to draw very relaxed and a bit more natural.
Very interesting unit, learnt a lot and tried a lot. Keep up the good work!